
Create React App with Routing
- Siah Peih Wee

- May 26, 2022
- 3 min read
In this tutorial, you will learn how to write a simple frontend using React and React Router.
You can view the example first.
You can view the codes at.

Setup Development Environment
Install VS Code
Install Node.js
Install Live Server Extension in VS Code

Create React App
Run Integrated Terminal from a working folder.
Make a React App named as "react-app-example" by running the following in Integrated Terminal
npx create-react-app react-app-exampleGo in to the created app's folder to run it
cd react-app-example
npm start
You should see the browser open up with the app running.
Install React Router DOM
Install React Router in the created app's folder
npm install react-router-dom@6Modify the App.js
import React from 'react';
import './App.css';

class App extends React.Component
{
    constructor() {
        super()
    }

    render()
    {
        return (
            <div>
                <h1>Hello React!</h1>
            </div>
        );
    }
}

export default App;
Test your React App
In the integrated terminal, run the following
npm startCreate Files & Folder for Components & Screens
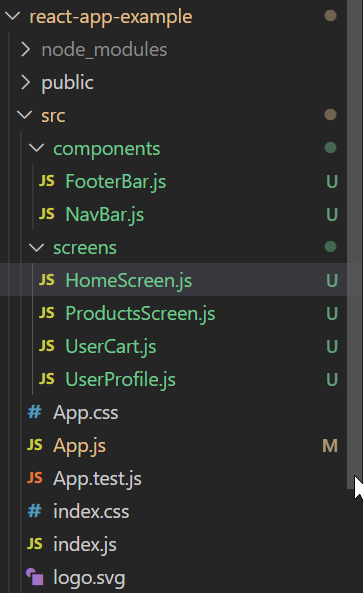
Make the NavBar.js
import React from 'react';

class NavBar extends React.Component
{
    constructor() {
        super()
    }

    render()
    {
        return (
            <div className='Nav'>
                <a href='/'>Home</a>
                <a href='/products'>Products</a>
                <a href='/cart'>Cart</a>
                <a href='/profile'>Profile</a>
            </div>
        );
    }
}

export default NavBar;
Update the App.js to Display NavBar.js
import React from 'react';
import './App.css';

import NavBar from './components/NavBar';

class App extends React.Component
{
    constructor() {
        super()
    }

    render()
    {
        return (
            <div>
                <NavBar/>
                <h1>Hello React!</h1>
            </div>
        );
    }
}

export default App;
Update the App.css for Layout
#Nav, #Footer
{
  display: flex;
  background-color: palevioletred;
}

#Footer p
{
  flex: 1;
  text-align: center;
  padding: 20px;
  margin: auto;
}

#Nav a
{
  display: block;
  flex: 1;
  padding: 20px;
  text-align: center;
  text-decoration: none;
}

#Nav a:link
{
  color: darkblue;
}

#Nav a:visited
{
  color: darkblue;
}

#Nav a:hover
{
  color: aliceblue;
  background-color: rebeccapurple;
}

#Nav a:active
{
  background-color: orangered;
}

.Main
{
  min-height: calc(100vh - 122px - 100px);
  padding: 50px;
}
Make the FooterBar.js
import React from 'react';
class FooterBar extends React.Component
{
constructor() {
super()
}
render()
{
return (
<div id='Footer'>
<p>Realization Lion © 2022. All Rights Reserved.</p>
</div>
);
}
}
export default FooterBar;Setup a 404 Screen for All Route
import React from 'react';

class NoScreen extends React.Component
{
    constructor() {
        super()
    }

    render()
    {
        return (
            <div className='Main'>
                <h1>404 Not Found</h1>
            </div>
        );
    }
}

export default NoScreen;
Setup a Home Screen
import React from 'react';

class HomeScreen extends React.Component
{
    constructor() {
        super()
    }

    render()
    {
        return (
            <div className='Main'>
                <h1>HomeScreen</h1>
            </div>
        );
    }
}

export default HomeScreen;
Setup Routes with React-Router-DOM
import React from 'react';
import './App.css';

import {
  Route,
  useParams,
  Routes,
  BrowserRouter
} from "react-router-dom";

import NavBar from './components/NavBar';
import HomeScreen from './screens/HomeScreen';
import ProductsScreen from './screens/ProductsScreen';
import NoScreen from './screens/NoScreen';
import FooterBar from './components/FooterBar';
import SingleProductScreen from './screens/SingleProductScreen';

class App extends React.Component
{
    constructor() {
        super()
    }

    render()
    {
        return (
            <div>
                <NavBar/>

                <BrowserRouter>
                  <Routes>
                    <Route exact path="/" element={<HomeScreen/>}/>
                    <Route path="/products" element={<ProductsScreen/>}/>
                    <Route path="/products/:productId" element={<SingleProductScreen/>}/>}/>
                    <Route path="*" element={<NoScreen/>}/>
                  </Routes>
                </BrowserRouter>

                <FooterBar/>
            </div>
        );
    }
}

export default App;
Noticed the route /products/:productId ?
This is a URL Parameter.
Setup a Product Screen
In this screen we will make a list of 10 products. Each will have their own page.
import React from 'react';

class ProductsScreen extends React.Component
{
    constructor() {
        super()
    }

    render()
    {
        const aList = [];

        for (var i=0; i<10; i++)
        {
            aList.push(<li key={i}><a href={'products/'+i}>Item {i}</a></li>);
        }

        return (
            <div className='Main'>
                <h1>ProductScreen</h1>
                <ul>{aList}</ul>
            </div>
        );
    }


}

export default ProductsScreen;
Setup a Single Product Screen
In this single product page, it will display according the id given as a Props. To understand props, you are recommended to read more on
import React from 'react';

class SingleProductScreen extends React.Component
{
    constructor() {
        super()
    }

    render()
    {
        return (
            <div className='Main'>
                <h1>Product {this.props.productId}</h1>
            </div>
        );
    }
}

export default SingleProductScreen;
Passing the URL Parameter to Single Product Screen
Normally if you are using a function to create the React Component, you can use the useParams directly in the function. But it will not work in a class. Therefore, we will use a wrapper instead. Then pass in as a props.
Below are the modification to App.js
import React from 'react';
import './App.css';
import NavBar from './components/NavBar';
import {
Route,
useParams,
Routes,
BrowserRouter
} from "react-router-dom";
import HomeScreen from './screens/HomeScreen';
import ProductsScreen from './screens/ProductsScreen';
import NoScreen from './screens/NoScreen';
import FooterBar from './components/FooterBar';
import SingleProductScreen from './screens/SingleProductScreen';
const ProductIdWrapper = () => {
const { productId } = useParams();
return <SingleProductScreen productId={productId} />;
};
class App extends React.Component
{
constructor() {
super()
}
render()
{
return (
<div>
<NavBar/>
<BrowserRouter>
<Routes>
<Route exact path="/" element={<HomeScreen/>}/>
<Route path="/products" element={<ProductsScreen/>}/>
<Route path="/products/:productId" element={<ProductIdWrapper/>}/>
<Route path="*" element={<NoScreen/>}/>
</Routes>
</BrowserRouter>
<FooterBar/>
</div>
);
}
}
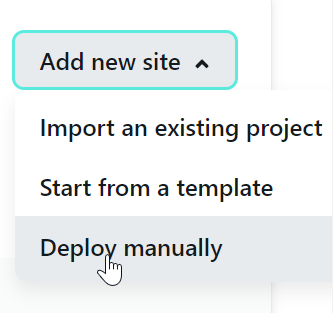
export default App;Deploy on Netlify
In the integrated terminal, run the following
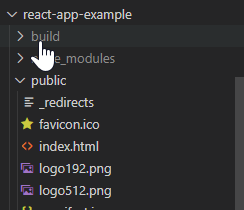
npm run buildUse this build folder to deploy
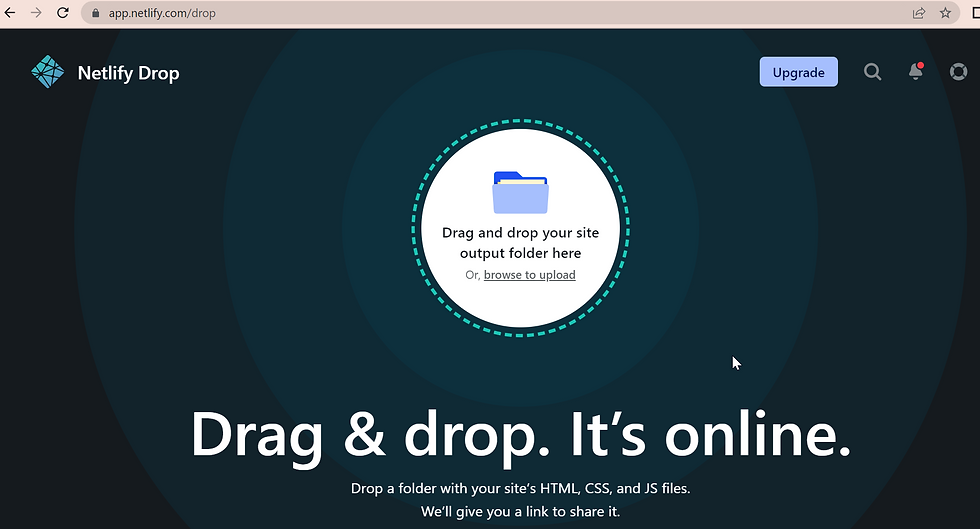
We will use Netlify to deploy our build
Drag the folder containing your website
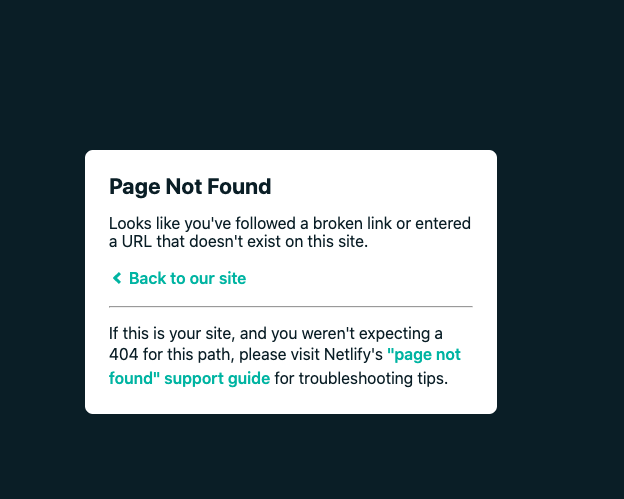
Fix Routing Issue on Netlify
You will notice all your react routes are not working.
Create a _redirects in your public
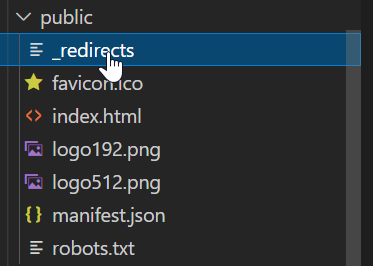
Write the following code in the _redirects file.
/* /index.html 200In the integrated terminal, run the following
npm run buildUse this build folder to deploy on Netlify

Comments