Create Frontend Application using React
- Siah Peih Wee

- Apr 11, 2022
- 3 min read
Updated: Apr 13, 2022
In this tutorial, you will learn how to write a simple frontend using React. You may want to preview the code in my Github.

Prior Reading
This is a continuation from the Query Server via Axios tutorial.
If you have not read it, you may wish to read it prior to attempting this tutorial.
Setup Development Environment
Install VS Code
Install Node.js
Install Git
Install Live Server Extension in VS Code

Clone Git from Previous Tutorial
Create a Working Folder
Run Integrated Terminal from that folder.
Clone Git from Previous Example
git clone https://github.com/peihwee/axios-exampleYou may then rename the folder to any name you like.
Run Server
Run Integrated Terminal from folder backend.
Install Modules
npm iStart the server by doing the following in Integrated Terminal
npm startYou should see the following log message in console or terminal
App listening to port 3000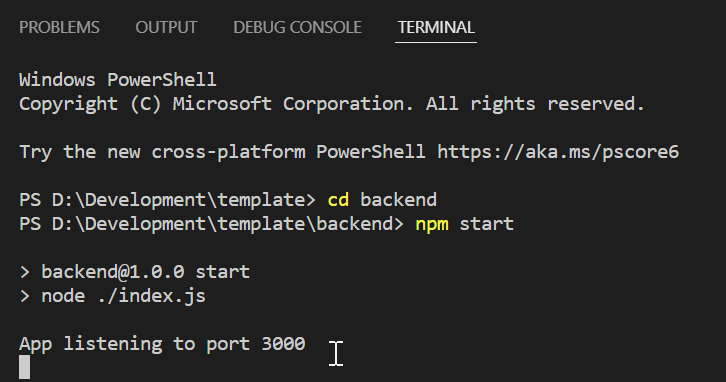
Open Browser > Go to the URL ---> http://localhost:3000
You should see the body of the document showing
Server running on port 3000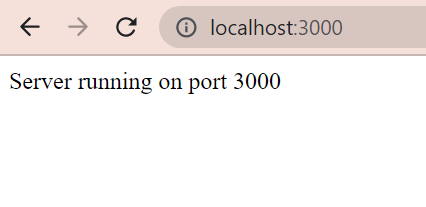
Import React & Babel
<!--Import for React-->
<script src="https://unpkg.com/react@15/dist/react.js"></script>
<script src="https://unpkg.com/react-dom@15/dist/react-dom.js"></script>

<!--Import for Babel-->
<script src="https://unpkg.com/@babel/standalone/babel.min.js"></script>
Edit the HTML file
Create a <div> with the id root to be used as a React Component
Add type "text/babel" so Babel can convert the JSX syntax.
    <body>
        <div id="root">
            <!--Used for React-->
        </div>

        <!--Type need to set to "text/babel" to read React in JSX-->
        <script type="text/babel" src="script.js"></script>
    </body>
Edit Javascript file
Edit the script.js file in the frontend folder
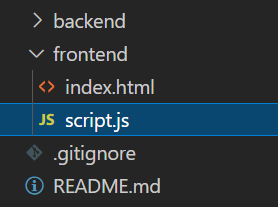
Delete all existing codes and write this
class Menu extends React.Component
{
    constructor() {
        super()
    }

    render()
    {
        return (
            <div>
                <h1>Hello React!</h1>
            </div>
        );
    }
}

ReactDOM.render(
    React.createElement(Menu, {}),
    document.getElementById('root')
);
Test with Live Server
Right click index.html in VS Code
Choose Open with Live Server
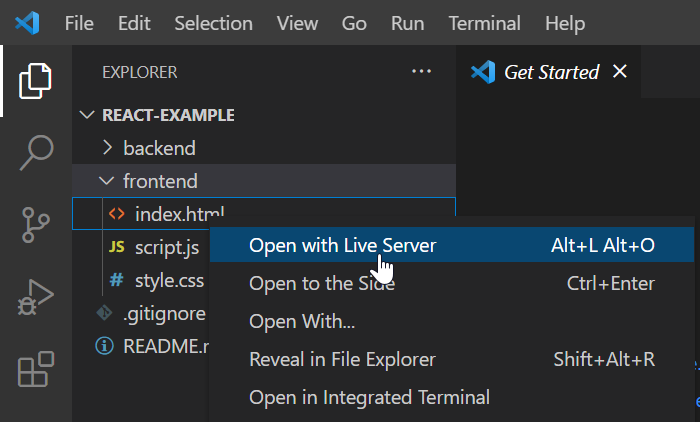
Render Interface
Render the following in the React Component -> Menu
Notice one of the Division is set with the ID -> Response
<div>
    <div>
        <div id="Response"></div>
    </div>
    <div>
        <button>Test GET</button>
        <button>Test POST</button>
    </div>
</div>
Add Stylesheet
Add a CSS file "style.css"
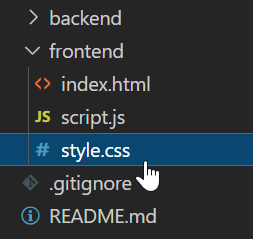
Style the Division with the ID "Response"
#Response
{
    height: 300px;
    overflow: auto;
    border: 3px solid black;
}
Add State Variables in Component
Create a variable "sResponse" in the state.
constructor() {
    super()
    this.state = {
        sResponse: "Response will show here."
    }
}
Create Function to Update State
Let's create a function "DisplayResponse" to display Responses.
In this case its setting state of variable "sResponse" in the component.
/////////////////////////////////////////////////////////////////////
// Function to Display Server Response
/////////////////////////////////////////////////////////////////////
DisplayResponse(objData)
{
    console.log("DisplayResponse: " + JSON.stringify(objData));
    this.setState({
        sResponse: JSON.stringify(objData)
    });
}
Display State Variable
Get the value of the sResponse in state and put it inside the division with the id Response.
<div id="Response">{this.state.sResponse}</div>Create Function for GET using Axios
Display the data of response using the function "DisplayResponse"
NOTE: You need to use [ this ]
for example "this.DisplayResponse(response.data);"
/////////////////////////////////////////////////////////////////////
// Function to Test GET with Server
/////////////////////////////////////////////////////////////////////
TestGet()
{
    axios.get('http://localhost:3000/api', { params: { message: "Hello World!" } })
    .then((response) => {
        console.log(response.data); //View in Browser's Developer Tools

        this.DisplayResponse(response.data);
    })
    .catch(function (error) {
        this.DisplayResponse(error);
        console.log(error);
    });
}
Map Button Event to Function
<button onClick={this.TestGet}>Test GET</button>Bind Functions
Bind the functions so it can be found by other functions, for example
this.DisplayResponse = this.DisplayResponse.bind(this);
constructor() {
    super()
    this.state = {
        sQuery: "",
        sResponse: "Response will show here."
    }

    // NOTE: Functions need to be bind to be used.
    this.TestGet = this.TestGet.bind(this);
    this.DisplayResponse = this.DisplayResponse.bind(this);
}
Test the Feature
Test with Live Server
When you click on Test GET, you should see the response displayed.

Homework
Now add the rest of the features on your own.


Comments